THE BEAUTYITEM DETAIL EDIT / LIP LINER
A useful everyday lip liner gives you control over the border and the colour just inside it. Choose whether you want the outline to merge with your lips, match a lipstick or remain a little more visible. Then choose a pencil and application method that make that decision easy to repeat.
This guide focuses on matching, defining and blending the edge. The portraits are styling references; the brand examples explain application options and do not identify products worn by the artists.
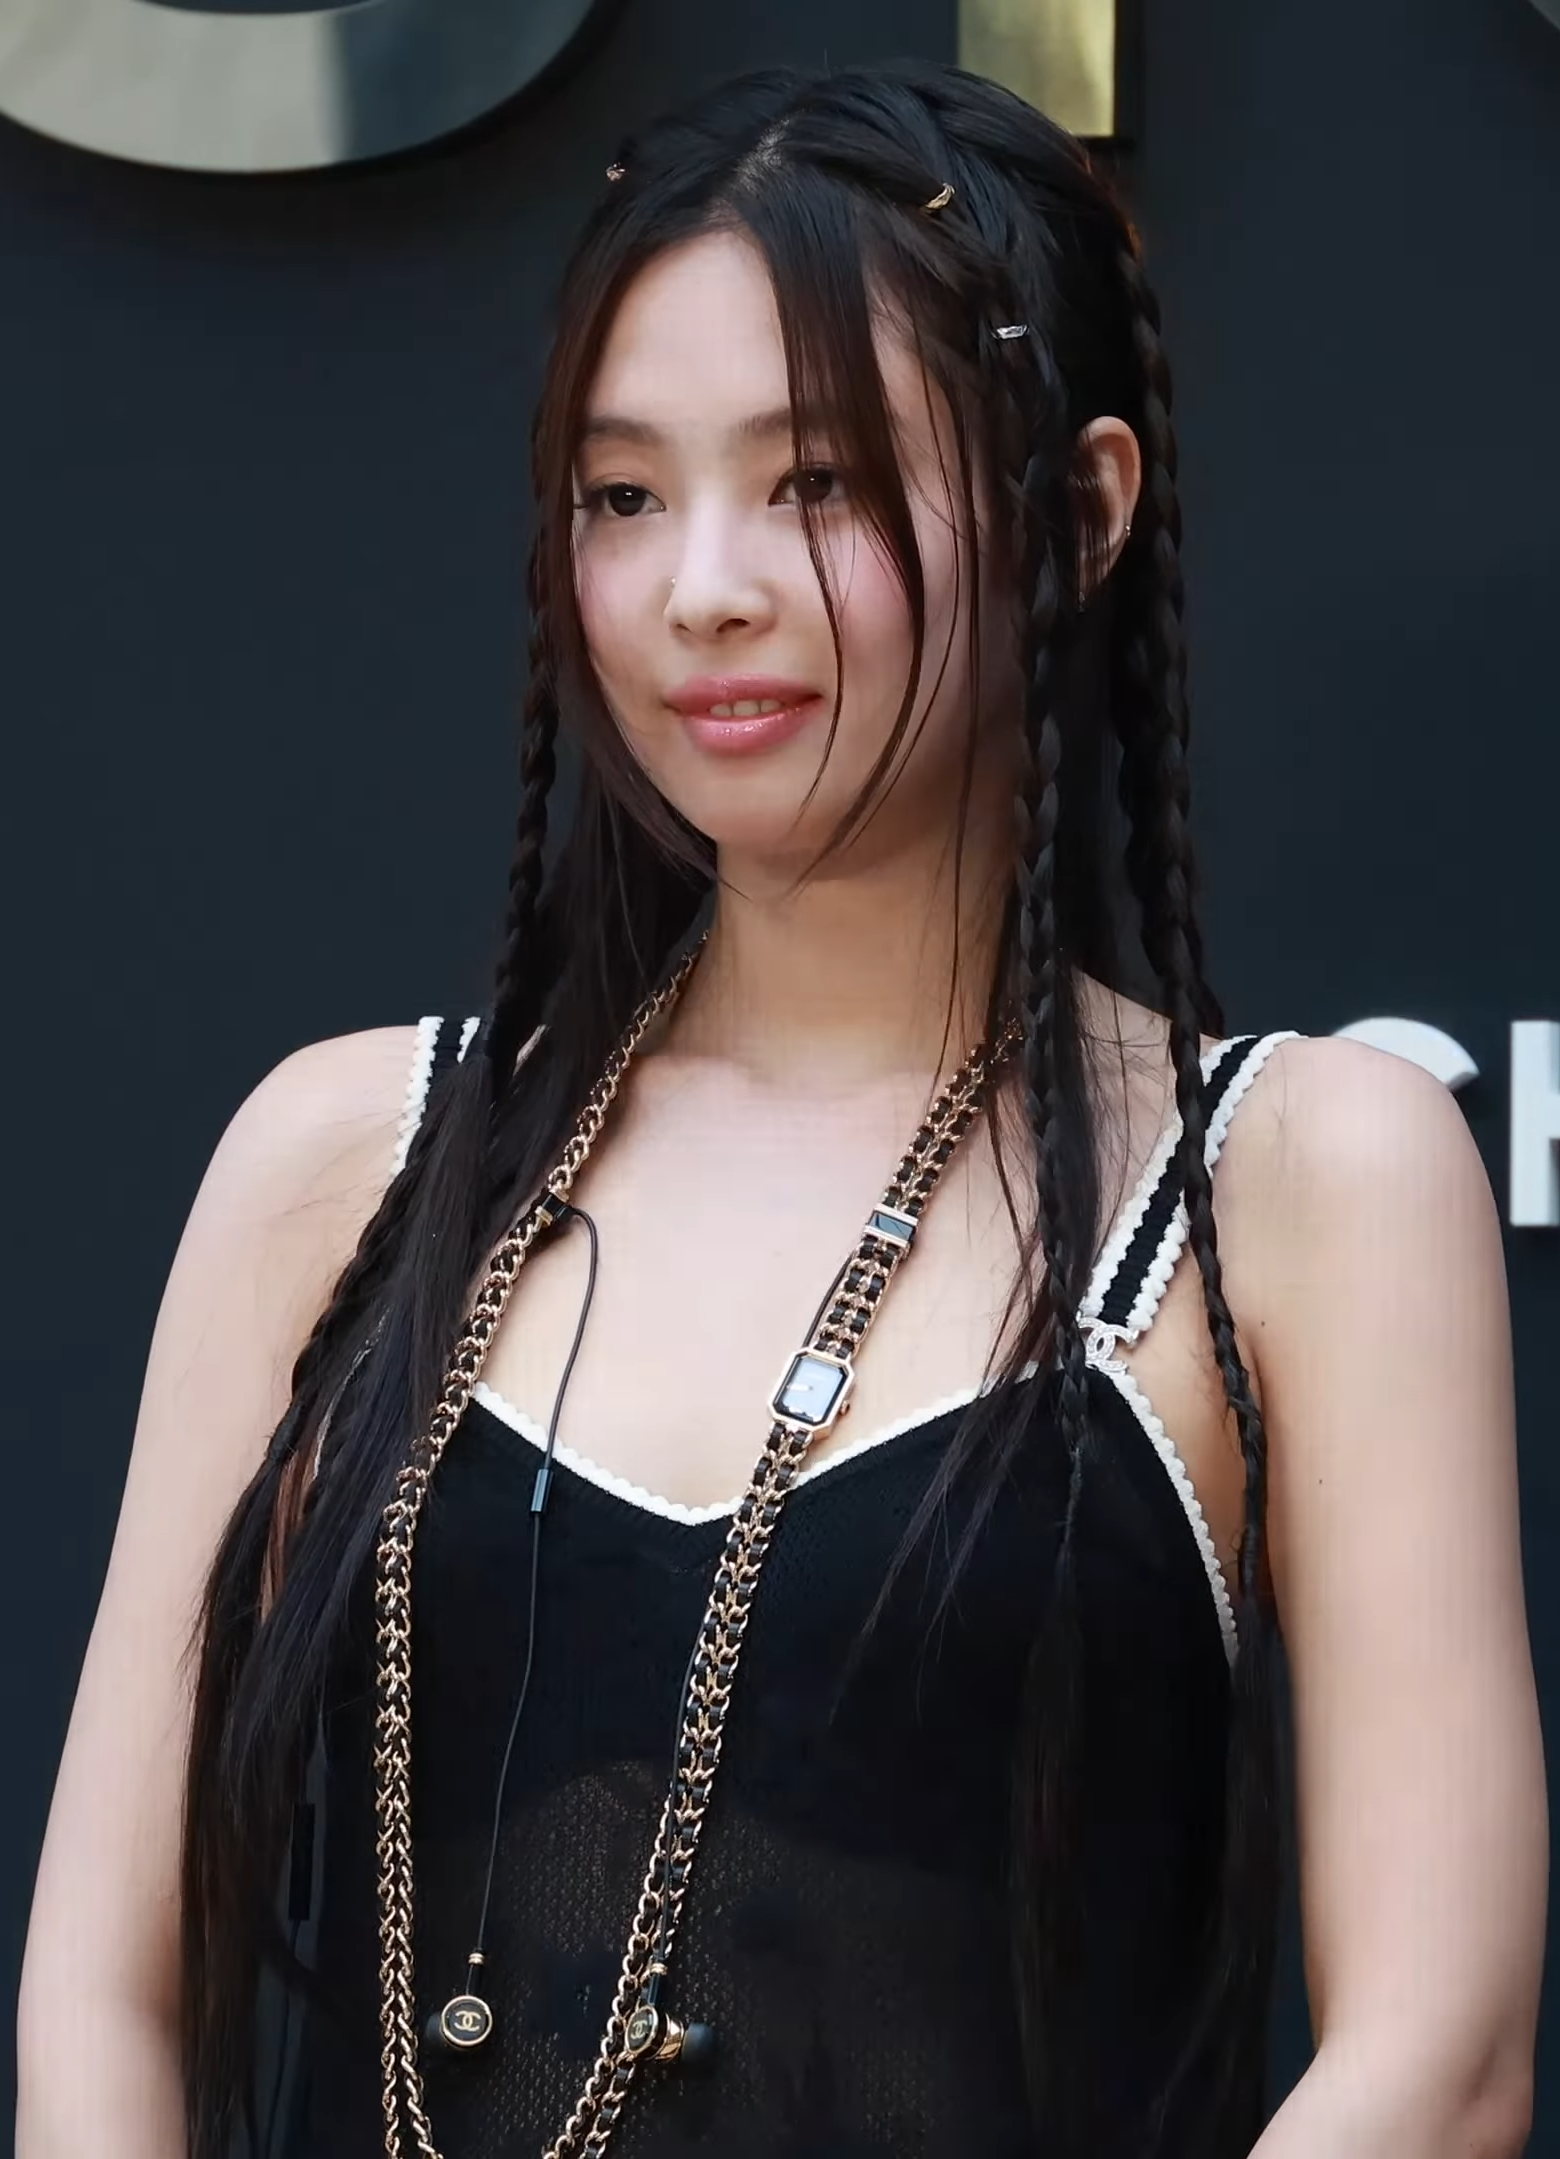
Blackpink's Jennie in Chanel Coco Crush, July 3, 2024 (2) by 티비텐 (TV10), via Wikimedia Commons, CC BY 3.0. Video still; no further edits.

Decide what you are matching
Charlotte Tilbury's lip liner guide begins its shade choice with the lipstick being used. It also describes applying lipstick inside the defined shape so the colours join together. That is a useful starting point when the two products are intended to work as a pair.
For a quieter everyday border, compare the liner with your own lip colour as well as with your lipstick. For a more visible frame, compare a slightly deeper option. Check the warmth too: a similar depth can still look quite different if one shade leans peach and the other leans mauve.
There is no single nude that has the same relationship to every person's lips. Look at the shade after a light application and beside the colour you plan to put in the centre.
Choose one border effect
| The effect you want | What to compare | What to blend |
| A quiet outline | Liner close to your lip colour or lipstick | The inner edge into the lip colour |
| A little more definition | A subtly deeper shade with compatible warmth | The transition so it has no abrupt band |
| A liner-led colour | A formula intended for filling in the lips | Coverage inside the border as directed |
Try the first option before changing several things at once. If you already like your lipstick colour, a matching border may be all you need to adjust.
Prepare the pencil for the line you want
NYX's Slim Lip Pencil instructions say to sharpen the pencil for lining and filling, then trace from the centre toward the outer corners. That describes a sharpenable pencil; check the mechanism of your exact product before trying to sharpen or twist it.
Use a suitable cosmetic sharpener according to the tool's instructions. Check the point before touching the lips. Start with light pressure and a short mark so you can see both the width and the colour it deposits.
If the first mark is broader or darker than planned, adjust your pressure or tool preparation before continuing all the way around. Keep your lips relaxed when judging the shape. A very stretched expression can make it harder to compare the border you will see normally.
Build the outline in manageable sections
MAC's Lip Pencil directions offer several approaches. Before lipstick, they begin at the Cupid's bow and connect the upper corners inward. They also allow lining after lipstick for more definition, or filling the lips with liner. These are options within one product's instructions.
For this edit, follow the border you can comfortably see and work in short sections. Start with the method your pencil describes, connect the marks, and look at the whole mouth before making the line stronger. You can use lipstick first if the selected formula supports that approach and it helps you see where definition is missing.
When blending, keep the outer boundary where you want it and soften the liner inward. Work while the formula is blendable, using a suitable lip brush if that gives you better control. Follow its directions rather than assuming every liner stays workable for the same time.

251204 Jang Wonyoung by 티비텐 TV10, via Wikimedia Commons, CC BY 4.0. Video still; no further edits.

Make the join as deliberate as the outline
Apply your chosen lip colour inside the shape, then inspect where it meets the liner. If there is a sharp ring you did not intend, blend that join before applying another full layer. A colour pairing can be attractive in two separate swatches and still need a softer transition on the lips.
If you enjoy a visible deeper border, keep it: simply decide how distinct you want the join to be. Match the result to your preference rather than treating every outline as a mistake. Check the corners as well as the centre, and look again with your mouth relaxed.
Test the pair before buying a second pencil
Compare one liner with the lip products you already use. You may find that it works with several shades when the depth and warmth are compatible. If it changes a favourite lipstick more than you wanted, choose whether you need a closer colour match or a lighter application.
Save both product names and shade labels once you like a pairing. A cap colour or a photograph of a tube is a less precise record than the actual shade identifier.
Three useful answers
Does lip liner have to be darker than lipstick?
No. A close match can give definition with a quiet transition. A deeper liner is a styling choice; compare how visible you want the border to be.
Should liner go before or after lipstick?
Follow the selected product's directions. Some, including the MAC example, allow both. Beginning with liner can help you set a boundary; adding it afterward can help you see which areas need definition.
Can I use liner as the lip colour?
Some lip pencils are intended for lining and filling, as the examples show. Check the formula's uses and decide whether you like the colour and finish on their own.
Keep the useful details
Our Korean beauty tools guide helps compare application tools. If you are identifying a Korean product from a shelf photo, our guide to names, shades and refills explains what to record. Start with the border effect you want, then choose the missing shade or tool.
'K-Beauty Shopping Guides' 카테고리의 다른 글
| Liquid vs Powder Highlighter: Placement, Shine and Texture (0) | 2026.10.27 |
|---|---|
| Setting Spray vs Setting Powder: Choose Your Final Makeup Step (0) | 2026.10.27 |
| Concealer Before or After Foundation? Build Coverage in Layers (0) | 2026.10.27 |
| Mascara for Length or Volume: Reading the Wand and Formula (0) | 2026.10.27 |
| Pressed Powder vs Loose Powder: Choosing Your Makeup Finish (0) | 2026.10.27 |